


![[Get 43+] Diy Rocking Chair Design](https://i1.wp.com/www.thedesignconfidential.com/wp-content/uploads/RockChairStep6aWeb-1024x480-1.jpg?ssl=1)


Are you looking to add a timeless piece of furniture to your home? A wooden rocking chair can be a perfect addition that brings comfort and style to any room. Building your own DIY wooden rocking chair can be a rewarding woodworking project that allows you to create a custom piece that fits your preferences and needs. In this article, we will provide you with step-by-step plans and instructions on how to build your own wooden rocking chair. Let's get started!
Materials and Tools
Before you begin, gather the following materials and tools:
- Wood planks for chair back, seat, arms, and legs
- Screws or nails for assembly
- Wood glue
- Sandpaper
- Saw
- Drill
- Measuring tape
- Clamps
- Paint or stain (optional)
Step 1: Plan and Measure
Start by planning and measuring the dimensions of your rocking chair. Consider the size of the room where the chair will be placed, the intended users, and the style you want to achieve. Sketch out a design and take accurate measurements for the back, seat, arms, and legs of the chair. This will serve as a blueprint for your project.
Step 2: Cut the Wood
Using a saw, cut the wood planks according to your measurements. Make sure to follow the design and dimensions you planned in the previous step. Take your time to ensure accurate cuts for proper fit and alignment of the chair parts.
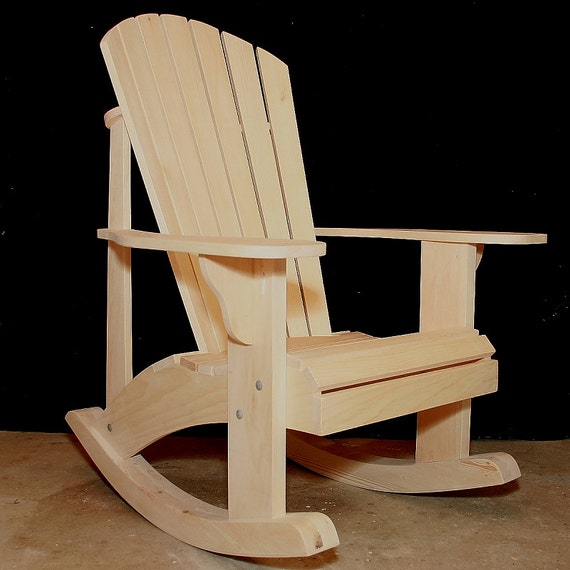
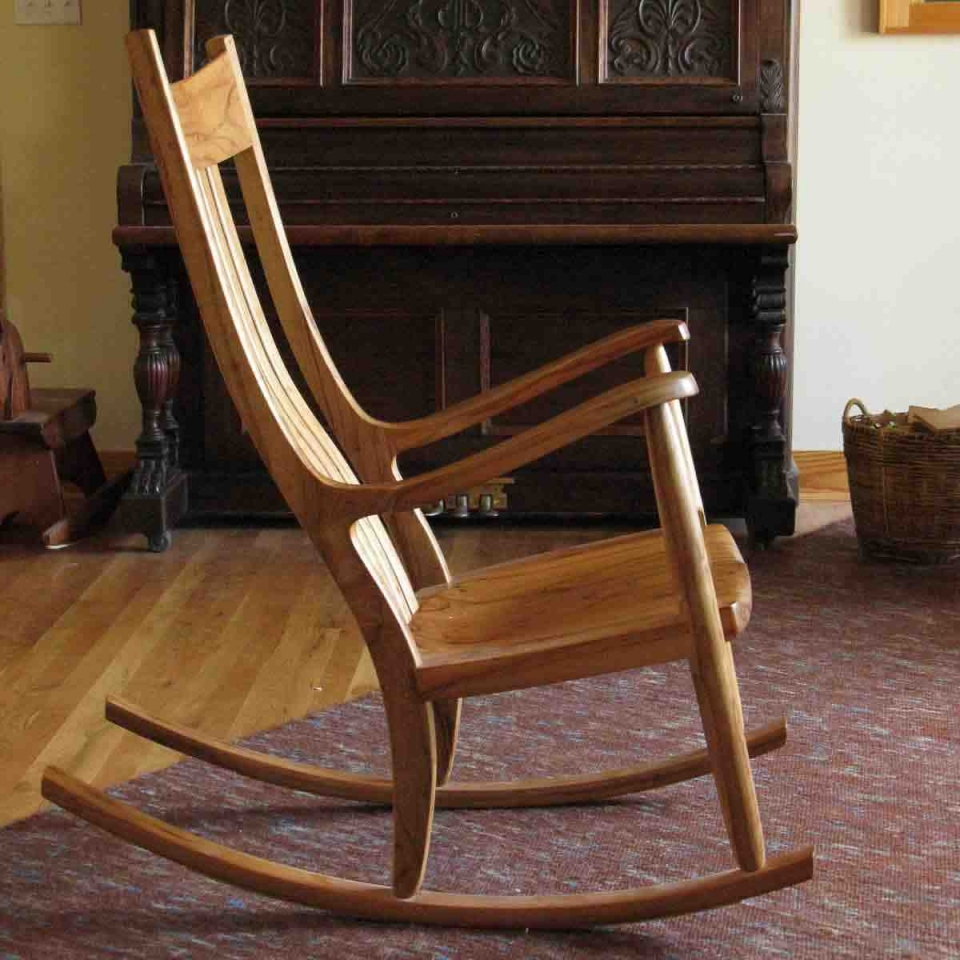
Step 3: Sand and Finish
Once you have cut all the wood pieces, sand them smooth to remove any rough edges or splinters. Pay extra attention to the areas where users will come into contact with the chair, such as the seat and armrests. You can also round the edges for added comfort. Apply a finish of your choice, such as paint or stain, to protect the wood and enhance its appearance. Follow the manufacturer's instructions for proper application and drying time.
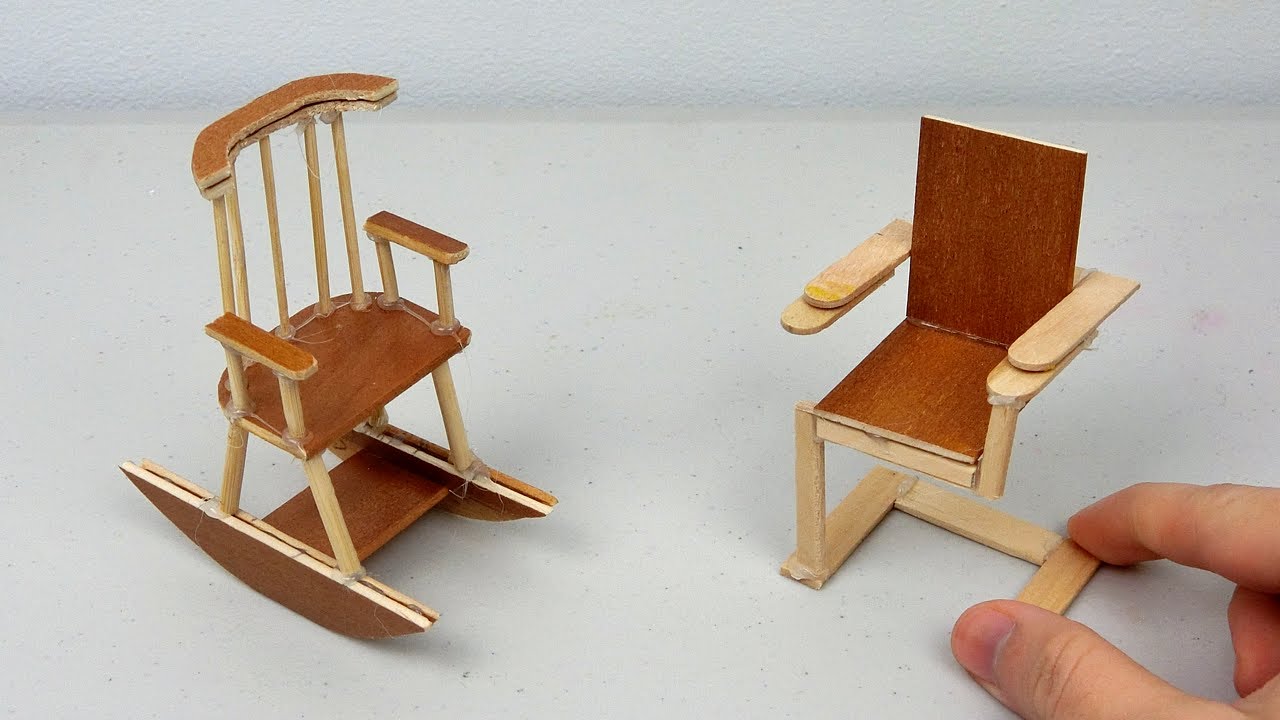
Step 4: Assemble the Chair
Now it's time to assemble the chair. Follow these steps:
- Attach the backrest to the seat using wood glue and screws or nails. Make sure the backrest is at a comfortable angle for rocking.
- Attach the arms to the sides of the chair back and seat, using wood glue and screws or nails. Ensure proper alignment and spacing.
- Attach the legs to the seat and armrests, using wood glue and screws or nails. Double-check for stability and adjust if needed.
- Install rockers to the bottom of the chair legs, using wood glue and screws. Make sure the rockers are properly aligned and level for a smooth rocking motion.
Step 5: Finishing Touches
After assembling the chair, give it a final sanding to smooth out any rough edges or surfaces. Apply any additional finish, such as paint or stain, to complete the look of your rocking chair. You can also add cushions or upholstery for added comfort and style.
FAQs
Q: Can I customize the design of my DIY wooden rocking chair?
A: Yes, absolutely! One of the great benefits of building your own rocking chair is the ability to customize it to your preferences. You can adjust the dimensions, design, and finish to match your style and needs.
Q: What type of wood is best for building a rocking chair?
A: Hardwoods such as oak, maple, and cherry are commonly used for building rocking chairs due to their durability and strength. However, you can also use other types of wood, depending on your budget and availability.
Q: Do I need advanced woodworking skills to build a rocking chair?
A: Building a rocking chair requires intermediate to advanced woodworking skills. It involves cutting, assembling, and finishing wood pieces, as well as ensuring proper alignment and stability. If you are a beginner, it's recommended to start with simpler woodworking projects before attempting a rocking chair.
Q: Can I use a rocking chair outside?
A: It's not recommended to use a wooden rocking chair outside, as exposure to the elements can cause wood to deteriorate and weaken over time. However, if you want to use your rocking chair on a covered porch or patio, make sure to use weather-resistant wood and finish, and protect it with covers when not in use.
Conclusion
Building your own DIY wooden rocking chair can be a fulfilling woodworking project that results in a beautiful and functional piece of furniture for your home. By following step-by-step plans and instructions, and using the right materials and tools, you can create a customized rocking chair that adds comfort and style to any room. Remember to plan, measure, cut, sand, assemble, and finish carefully for a professional-looking result. Happy woodworking!


No comments:
Post a Comment
Note: Only a member of this blog may post a comment.