Explore the art of woodworking with expert tips, tutorials, and inspiration. Discover woodworking projects, techniques, and tools for DIY enthusiasts and woodworking hobbyists.

Diy Woodworking Bed Frame: Building Your Dream Bed

diy Woodworking Bed Frame

Building your own bed frame can be a rewarding and fulfilling DIY woodworking project. Not only does it allow you to customize your bed to your specific preferences, but it also gives you the opportunity to create a unique piece of furniture that will be a focal point in your bedroom. In this article, we will guide you through the process of building your own DIY woodworking bed frame, from selecting the materials to the final assembly.

Materials and Tools

Before you start building your DIY woodworking bed frame, you'll need to gather some materials and tools. Here's a list of what you'll need: Materials:
  • Wooden boards (such as pine or hardwood) for the frame
  • Plywood for the mattress support
  • Screws or nails for assembly
  • Wood glue
  • Sandpaper for sanding the wood
  • Stain or paint for finishing
Tools:
  • Measuring tape
  • Saw (such as a circular saw or a miter saw)
  • Drill or screwdriver
  • Hammer or nail gun
  • Wood chisel for mortise and tenon joints (optional)

Building Process

Now that you have all your materials and tools ready, it's time to start building your DIY woodworking bed frame. Follow these steps:

Step 1: Measure and Cut the Wood

Start by measuring and cutting the wooden boards for the frame. Measure the length and width of your mattress, and add a few inches to each dimension to allow for the frame to hold the mattress securely. Cut the boards to the desired lengths using a saw, making sure to make straight and clean cuts.

Step 2: Assemble the Frame

Once you have all the boards cut to size, assemble the frame by attaching the boards together using screws or nails. You can use butt joints, miter joints, or mortise and tenon joints for added stability. If you choose to use mortise and tenon joints, make sure to chisel out the mortises and create the tenons for a snug fit. Use wood glue along with the screws or nails for added strength. Double-check that the frame is square and level as you assemble it to ensure a sturdy and stable bed frame.

Step 3: Add Mattress Support

Next, add the mattress support to the frame using plywood. Measure and cut the plywood to fit inside the frame, leaving a small gap around the edges for ventilation. Attach the plywood to the frame using screws or nails, making sure it is level and secure.

Step 4: Sand and Finish

After the frame is fully assembled, sand all the rough edges and surfaces with sandpaper to create a smooth finish. Pay extra attention to the corners and edges where you'll be touching the most. Once the sanding is complete, you can choose to apply stain or paint to finish the bed frame. Follow the manufacturer's instructions for the stain or paint you choose, and allow it to dry completely before proceeding to the next step.

Step 5: Install Bed Hardware

If you plan to attach a headboard, footboard, or side rails to your DIY woodworking bed frame, this is the time to install the hardware. Follow the manufacturer's instructions for the specific bed hardware you have chosen, and carefully attach it to the bed frame using screws or bolts.

FAQs

Q: What type of wood is best for building a bed frame?

A: Pine and hardwood, such as oak or maple, are commonly used for building bed frames due to their durability and affordability. However, you can choose any type of wood that fits your budget and aesthetic preferences.

Q: Can I customize the design of my DIY bed frame?

A: Yes, that's the beauty of building your own bed frame! You can customize the design to suit your style and preferences. You can adjust the dimensions, add decorative elements, or even incorporate storage drawers or shelves into your bed frame design.

Q: Do I need to have advanced woodworking skills to build a bed frame?

A: While basic woodworking skills are helpful, you don't necessarily need to be an expert woodworker to build a bed frame. With careful planning, measuring, and following instructions, you can successfully build a bed frame even if you're a beginner. It's important to take your time, use proper safety precautions, and consult woodworking resources if needed.

Q: How long does it take to build a DIY bed frame?

A: The time it takes to build a DIY bed frame depends on your level of experience, the complexity of the design, and the tools you have on hand. On average, it can take a few hours to a few days to complete a bed frame project.

Q: Can I save money by building my own bed frame instead of buying one?

A: Yes, building your own bed frame can be a cost-effective option compared to buying a pre-made bed frame from a store. You have control over the materials and design, which allows you to save on costs and create a unique piece of furniture.

Conclusion

Building your own DIY woodworking bed frame can be a fulfilling and rewarding project that allows you to create a unique and personalized piece of furniture for your bedroom. With the right materials, tools, and careful planning, you can successfully build a sturdy and stylish bed frame that will last for years to come. Remember to measure accurately, follow instructions, and prioritize safety while working with power tools and woodworking materials. So why wait? Get started on building your dream bed frame today!
Share:

Build Adirondack Chair Plans


Adirondack Chair Plans

Welcome to our step-by-step guide on how to build Adirondack chairs! If you're a DIY enthusiast and love woodworking projects, building your own Adirondack chairs can be a fulfilling and rewarding experience. Adirondack chairs are classic, comfortable, and perfect for relaxing in your outdoor space. In this article, we will provide you with detailed plans, instructions, and tips for building your very own Adirondack chairs.

Introduction

Adirondack chairs, also known as Muskoka chairs, are a type of outdoor chair that originated in the Adirondack Mountains in the United States. They are typically made from wood and feature a distinctive slanted backrest, wide armrests, and a contoured seat for maximum comfort. Adirondack chairs are known for their rustic charm and timeless appeal, making them a popular choice for outdoor seating in gardens, patios, decks, and porches.

Materials and Tools

Before you start building your Adirondack chairs, you'll need to gather some materials and tools. Here's a list of what you'll need:

  • Wood boards (cedar, pine, or other durable wood)
  • Screws
  • Wood glue
  • Saw (circular saw or miter saw)
  • Drill
  • Screwdriver
  • Sander
  • Measuring tape
  • Pencil

Step-by-Step Instructions

Follow these step-by-step instructions to build your Adirondack chairs:

Step 1: Gather Materials and Tools

Collect all the materials and tools listed above to ensure you have everything you need for the project. Make sure the wood boards are of good quality and suitable for outdoor use.

Step 2: Cut Wood Pieces

Using a saw, cut the wood boards according to the dimensions in your Adirondack chair plans. You will need pieces for the backrest, seat, arms, legs, and supports. Be precise with your measurements to ensure proper fit and alignment.

Step 3: Sand the Wood

Use a sander to smooth out any rough edges or surfaces on the wood pieces. Sanding will give your Adirondack chairs a professional finish and make them more comfortable to sit on.

Step 4: Assemble the Backrest

Assemble the backrest of the Adirondack chair by attaching the vertical back slats to the horizontal supports. Use wood glue and screws to securely fasten the pieces together, following the plans for proper spacing and alignment. Repeat the process for the seat, arms, and legs of the chair, making sure all the pieces are securely attached.

Step 5: Attach Armrests and Supports

Attach the armrests to the sides of the chair using wood glue and screws. Then, attach the supports between the legs to provide additional stability and support for the chair. Double-check for proper alignment and make any necessary adjustments before moving on to the next step.

Step 6: Apply Finish

Once the chair is fully assembled, you can apply a finish of your choice to protect the wood from the elements and enhance its appearance. You can use paint, stain, or sealant, depending on your desired look and level of protection. Follow the manufacturer's instructions for proper application and drying time.

Step 7: Optional: Add Cushions

If you want to add extra comfort to your Adirondack chairs, you can consider adding cushions to the seat and backrest. Choose cushions that are designed for outdoor use and attach them securely to the chair with ties or Velcro strips.

FAQs

Q: What type of wood is best for building Adirondack chairs?

A: Cedar and pine are popular choices for building Adirondack chairs due to their durability and resistance to decay and insects. However, you can also use other types of wood that are suitable for outdoor use, such as redwood, teak, or treated lumber.

Q: Can I customize the size and design of my Adirondack chairs?

A: Yes, you can customize the size and design of your Adirondack chairs to fit your preferences and needs. You can adjust the dimensions, change the angle of the backrest, or add unique features to make your chairs truly one-of-a-kind.

Q: Are Adirondack chairs difficult to build for beginners?

A: Adirondack chairs can be a moderately challenging woodworking project, but they are manageable for beginners with basic woodworking skills and tools. By following detailed plans and instructions, taking accurate measurements, and using proper techniques, beginners can successfully build their own Adirondack chairs.

Conclusion

Congratulations! You have now learned how to build your own Adirondack chairs with step-by-step plans and instructions. With the right materials, tools, and patience, you can create beautiful and comfortable outdoor chairs that will add charm and functionality to your outdoor space. Remember to follow proper safety precautions while working with tools and materials, and have fun bringing your DIY woodworking project to life!

Share:

Best Way To Paint A Wooden Rocking Chair

Sarah Bridger Design: Lucketts Favorites: Blue Rocking Chair

Lyndi's Projects: Outdoor Metal Chairs Get a New Look

CrEatE: Projects by Jamie: Refurbished Rocking Chair Part One

Vintage Rocking Chair with Damaged Finish Gets a New Look

Mission Style Glider Rocking Chair : vintage armless rocking chair

Antique Wooden Rocking Chair Identification - Wooden Rocking Chair

Vintage Rocking Chair with Damaged Finish Gets a New Look

wooden rocking chair cushions - Living Room Interior Design For A Small

Rustic Wooden Rocking Chairs - Miniature sunflower rocking chair

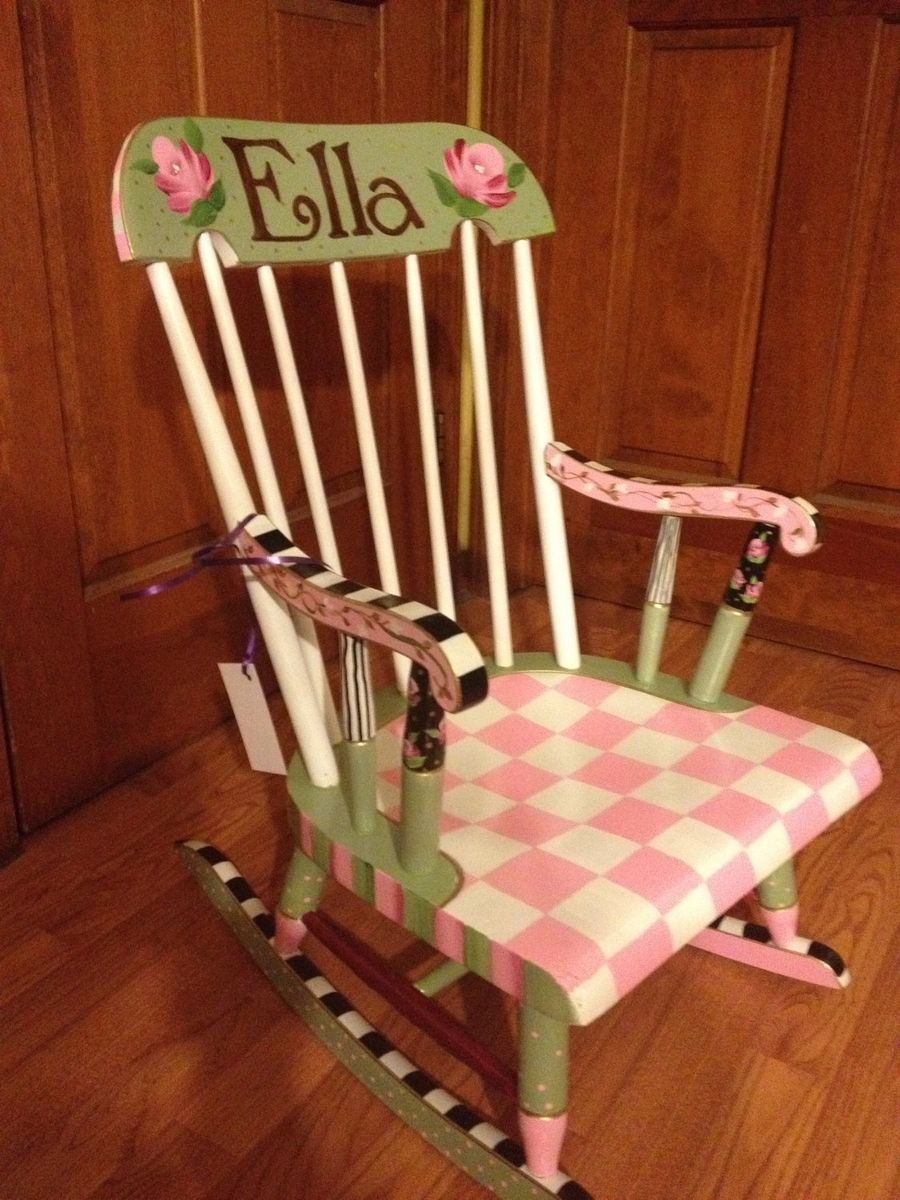
Hand Painted Childrens Rocking Chairs : Rocking chairs, Hand painted

Antique Solid Wood Rocking Chair / I Have A Child’s Rocking Chair

How To Paint Furniture Distressed Turquoise | Modern Design

How To Paint A Rocking Chair

Rana Overseas: Wooden Rocking Chair

Seeinglooking: Decorated Wooden Rocking Chairs

Antique Childs Wooden Rocking Chair - Lalocositas

wooden rocking chair cushions - Living Room Interior Design For A Small

Personalized Rocking Chair - Design Ideas

Handmade Rocking Chair

Seeinglooking: Free Wooden Rocking Chair Designs

Rose Wood Craft: Rustic Rocking Chair

Cath: Easy Plans For Wooden Rocking Chair Wood Plans US UK CA

Diy Painted Rocking Chair Ideas

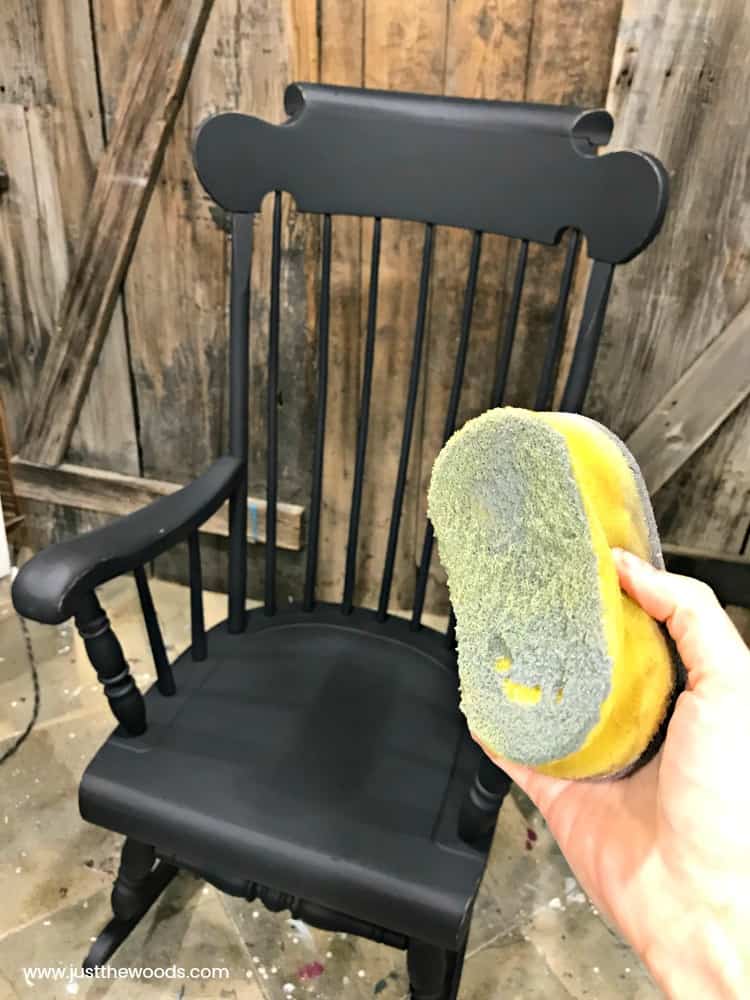
Namely Original: How to Paint a Rocking Chair

Outdoor Wood Rocking Chairs - Wooden Rocking Chair Porch Rocker Balcony

Antique Childs Wooden Rocking Chair - Lalocositas

Little Bit of Paint: My Mother's Rocking Chair

Wooden Rocking Chair - Home Design Elements

Rana Overseas: Wooden Rocking Chair

Bird and A Tree: Chalk Paint! Rocking Chair Redo

Seeinglooking: Painted Wooden Rocking Chair

[Get 43+] Diy Rocking Chair Design

Vintage Rocking Chair

Invention: Rocking Chair

Wooden Rocking Chair Cushions For Nursery : Costway Baby Nursery Relax


Share:

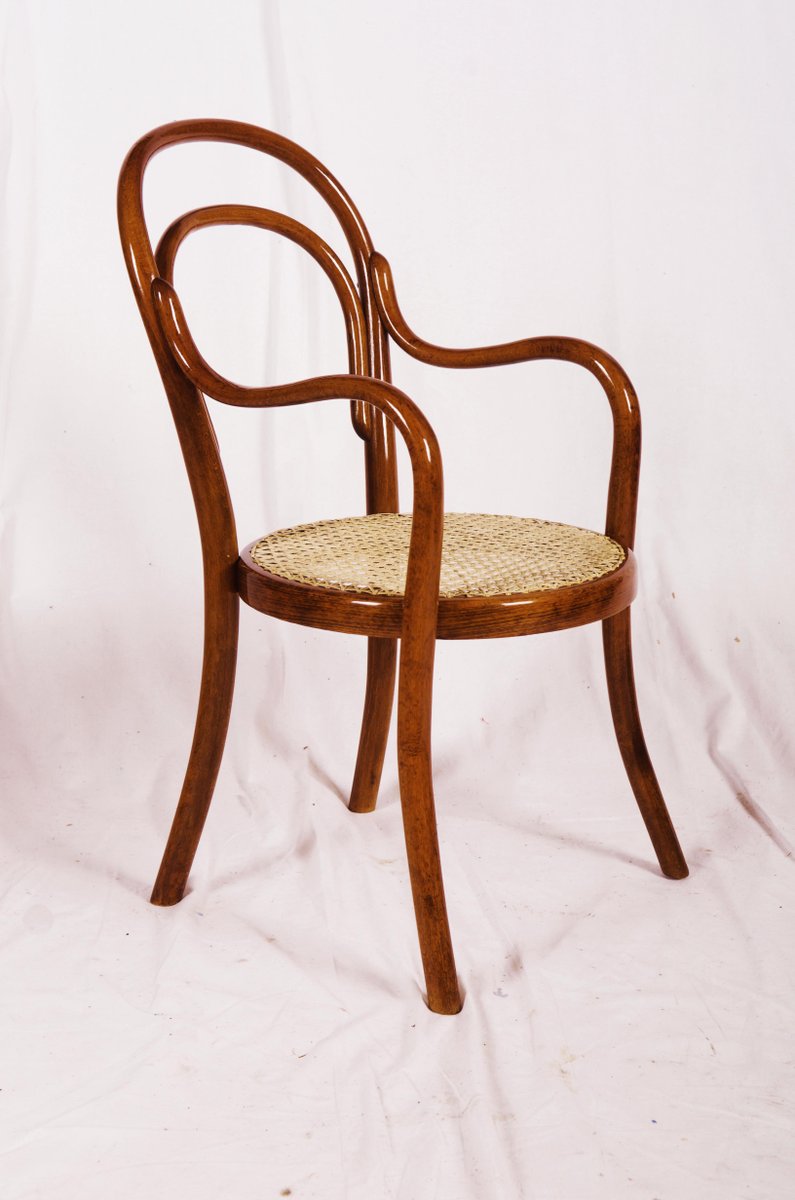
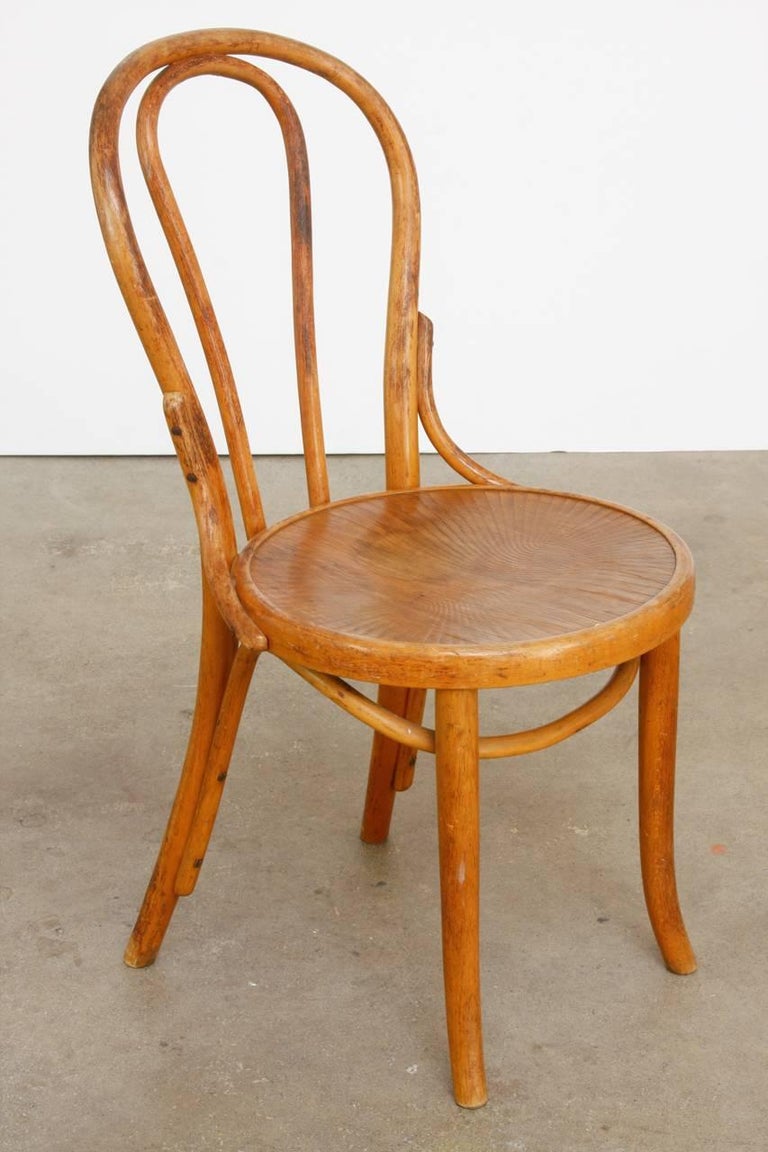
Thonet Bentwood Chairs Value

Uhuru Furniture & Collectibles: Set of 4 Bentwood Chairs by Thonet

Thonet Bentwood Cafe Chair / Set Of 4 Thonet Bistro Bentwood Chairs

Thonet Bentwood Bar Stool - Genuine bentwood bar stool by michael

Antique White: pair of Thonet bentwood chairs

dosgorditosfelices: Thonet Bentwood Chair : حل٠تن٠يذ هذا ÙƒÙ

Michael Thonet Cafe Chair / Pair of Michael Thonet No. 18 Bentwood

Thonet Chairs Vintage / Thonet Bentwood Chairs | Made in Yugoslavia

Bentwood Cafe Chairs ~ californialandscapedesigners

MICHAEL THOMAS : Pair of Thonet Bentwood Cantilever Lounge Chairs

Antique White: pair of Thonet bentwood chairs

Thonet Bentwood Furniture

Gotcha Modern!: Pair of Thonet Bentwood Chairs

Thonet Chairs Vintage / Thonet Bentwood Chairs | Made in Yugoslavia

Uhuru Furniture & Collectibles: Thonet Style Bentwood Rocker by Luigi

Rocking Chair - Home Fixtures

Thonet Chairs Vintage / Thonet Bentwood Chairs | Made in Yugoslavia

Tribute 20th Decor: Authentic Thonet Bentwood Chairs

Thonet Chairs Vintage / Thonet Bentwood Chairs | Made in Yugoslavia

Thonet Bentwood Chair : Antique Gebruder Thonet Bentwood Chairs - Set

Tribute 20th Decor: Authentic Thonet Bentwood Chairs

Michael Thonet Cafe Chair / Pair of Michael Thonet No. 18 Bentwood

Antique White: pair of Thonet bentwood chairs

MICHAEL THOMAS : Thonet Bentwood Chair

Bentwood Stool Thonet

Thonet Chairs Vintage / Thonet Bentwood Chairs | Made in Yugoslavia

Gotcha Modern!: Pair of Thonet Bentwood Chairs

Antique White: pair of Thonet bentwood chairs

Thonet Bentwood Chair Repair - Chair Designs

Bentwood Rocking Chair Nz / Thonet Rocking Chair On Exhibit At The

Gotcha Modern!: Pair of Thonet Bentwood Chairs

Antique Bentwood Chairs Value ~ blechanddesign

Tribute 20th Decor: Authentic Thonet Bentwood Chairs

I Know The Plans I Have For You: Thonet Bentwood Chairs with Chevron Seats

Michael Thonet Cafe Chair / Pair of Michael Thonet No. 18 Bentwood

dosgorditosfelices: Thonet Bentwood Chair : حل٠تن٠يذ هذا ÙƒÙ


Share:

Recent Posts

Sample Text


Pages